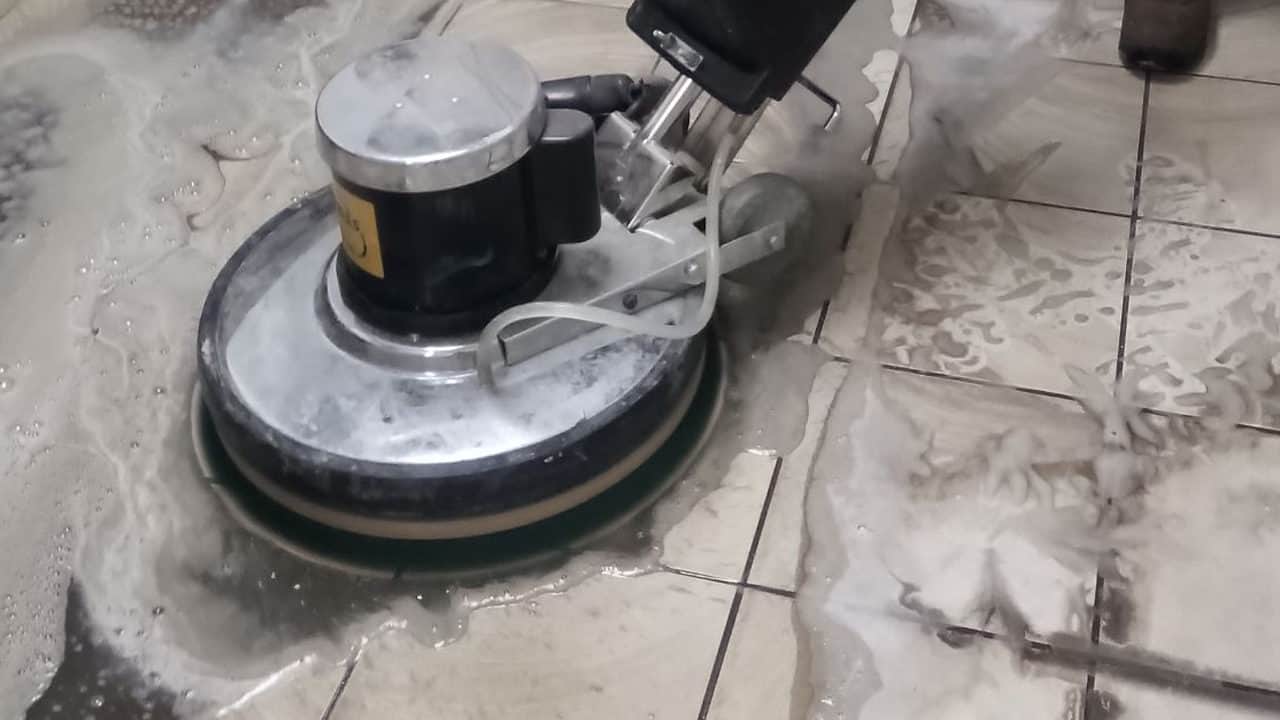
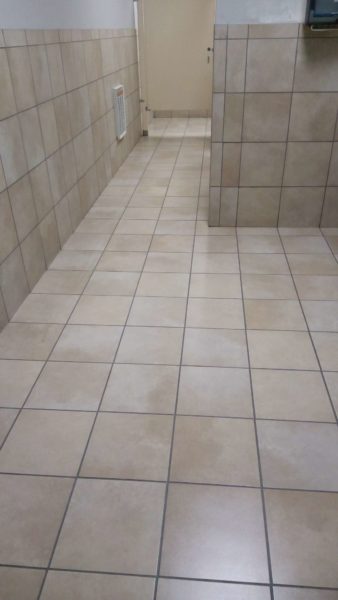
A general contractor client asked us to restorative clean two porcelain tile restrooms on a project they were managing for their customer. These restrooms were heavily used by the staff in an industrial/logistics facility and had likely not been maintained correctly for many years. The original color of the grout (beige) was almost indistinguishable, certainly on the floor tile (we were tasked with cleaning and coloring the tile wainscot also).
The Process
We first applied a solution of XL TC high-alkaline cleaner to the floor and let it dwell. We then scrubbed the floor thoroughly (in multiple directions) with a 175 RPM single-disc scrubber and a Malish green grit-brush. After removing the (VERY dirty) slurry with a wet vac, we applied XL GC acid grout cleaner directly to the grout lines, allowed this to dwell for a few minutes, and scrubbed the grout lines with a grout brush (prefer the ‘softer’ black bristle brushes rather than some of the stiffer brushes that may not conform to the grout lines as well). After the grout lines were scrubbed, we reapplied a little of the XL TC high-alkaline cleaner to help neutralize the GC acid solution and removed the slurry.
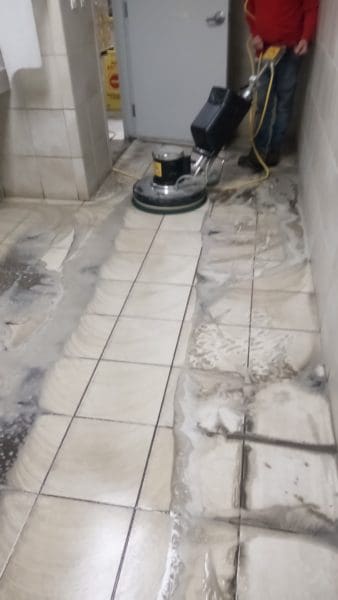
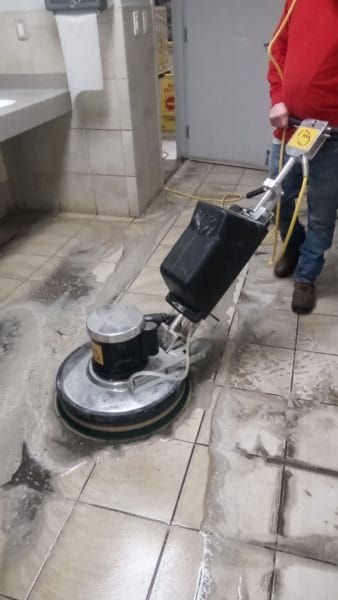
The floors (and walls) were flood rinsed thoroughly using clean water and re-scrubbing with the single-disc scrubber and brush to suspend any remaining residue. We then final rinsed the tile and grout using XL PTU Coating Prep low-residue cleaner. After the floor had dried, we PH tested the grout surface to ensure it was near neutral, and then applied the ColorSeal grout colorant (walls and floors). The customer had asked for a darker color in hopes that future soil tracked in would be less noticeable.
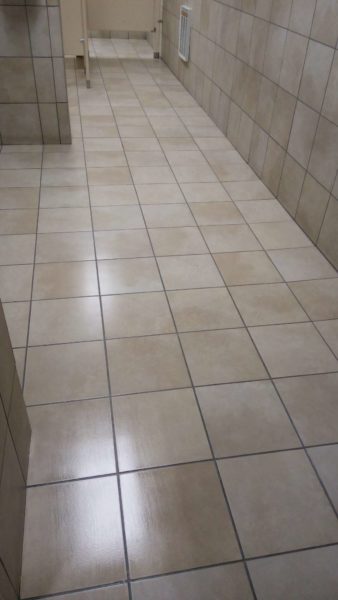
After the colorant had cured for at least 24 hours, we returned to apply XL PTU Hard Seal matte sealer over the colored grout and tile surface. We ‘charged’ a 3M blue microfiber mop pad, sprayed the Hard Seal lightly on the surface and applied it very thinly using overlapping ‘box’ strokes. I have used XL PTU Hard Seal on multiple jobs over an extended period of time, and have found it to (A) leave the tile surface easier to maintain, (B) help to protect the integrity of the grout colorant application, and (C) improve the aesthetic of the tile without making it look artificial (i.e., the ‘Saran Wrap’ look). Hard Seal is very durable and is easy to repair due in part to its very thin film build.
The Results
The customer was very pleased with the results. We are scheduled to perform the same service in a couple other restrooms on their site next month. Their alternative had been a costly tile replacement, and the tile/grout refurbish saved them money and left them with a more maintainable floor.
Download Article
A PDF copy of this article is available for download – no form submission required.
